
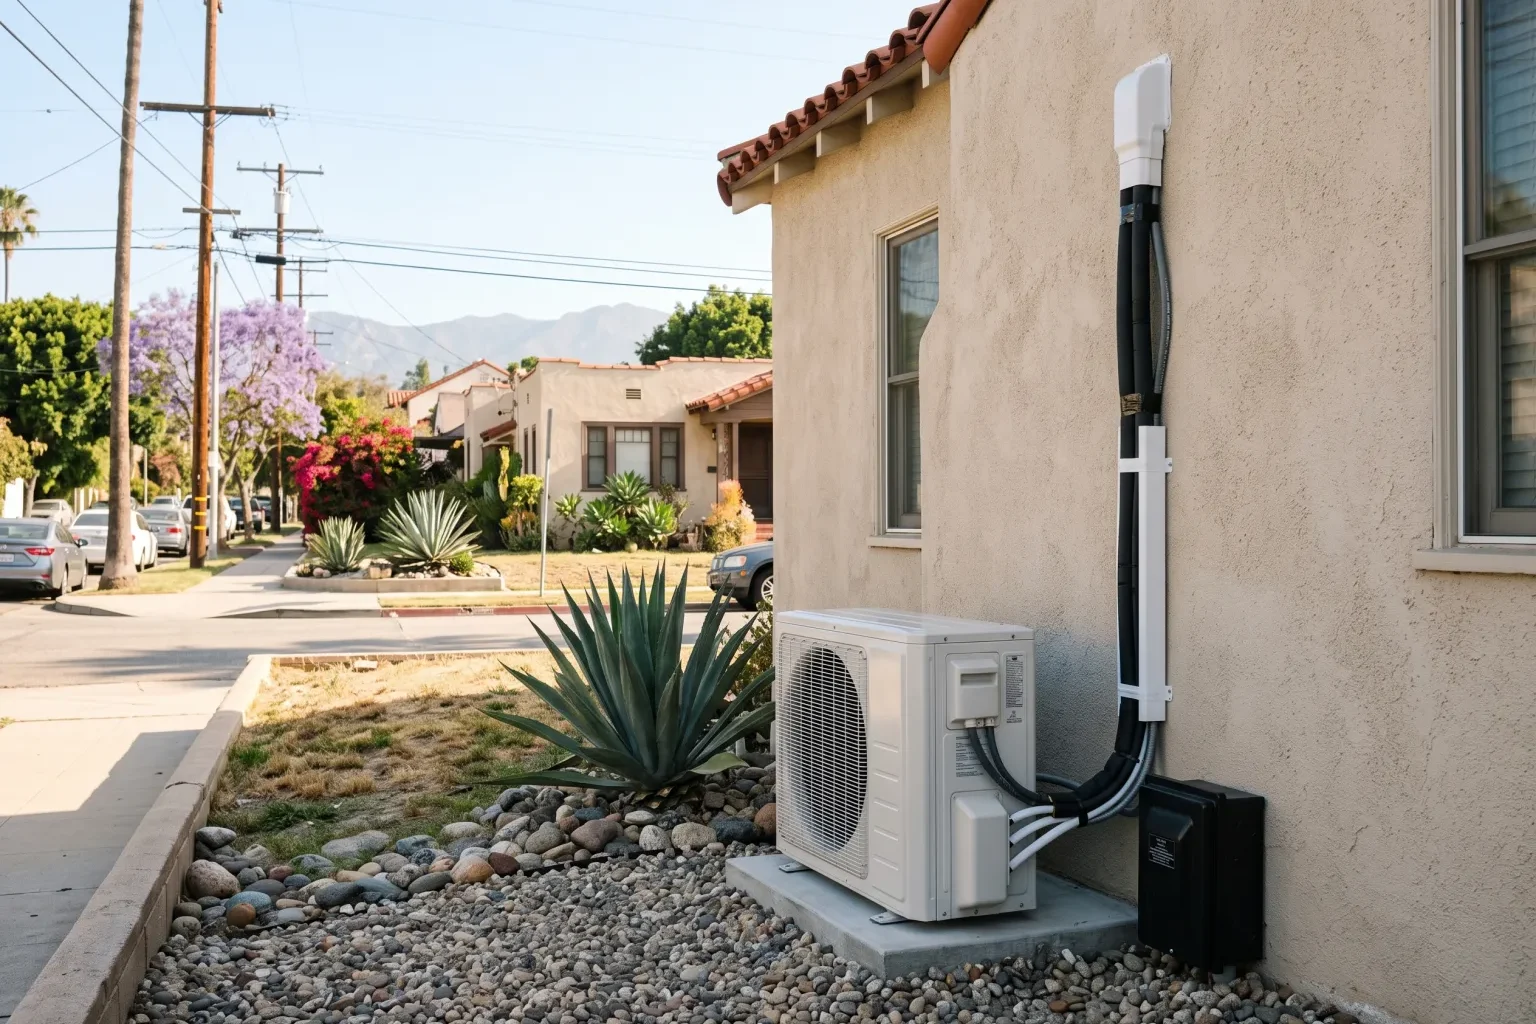
The short answer
A ductless mini-split is a strong choice for homes with no ducts, rooms that never stay comfortable, or additions the central system cannot reach. We size each indoor head to the room, plan the line set and electrical path, and explain the options before any work begins.
A ductless mini-split puts heating and cooling exactly where a room needs it, without a single foot of attic ductwork. That matters on the Westside, where plenty of stucco bungalows and postwar ranch homes were built with a wall furnace and no central air, and where converted garages, upstairs bonus rooms and back offices never got a supply register at all. EliteCore HVAC Solutions plans and installs mini-split systems for homeowners in Culver City and the surrounding communities. This page explains how to tell whether ductless is the right fit, what our technicians look at before recommending equipment, how to think about fixing an older unit versus starting fresh, and what drives the scope of a project so you can plan with clear expectations.
Signs a Mini-Split Makes Sense for Your Home
Ductless equipment solves a specific set of problems. It is rarely the answer for a house that already has a healthy duct system feeding every room, but it shines in the situations below. If two or more of these sound familiar, a site visit is worth scheduling.
Many Culver City homes sit close enough to the ocean breeze that owners went decades without air conditioning. Then a late-summer heat spell or a stretch of dry Santa Ana weather arrives, bedrooms stay warm well past midnight, and portable units start crowding the windows. A mini-split offers a quieter, permanent alternative.
- Your home has no ductwork, or only a gravity wall heater in the hallway
- A garage conversion, ADU or room addition sits outside the reach of the existing system
- One room, often a west-facing bedroom or a top-floor office, runs much hotter than the rest
- Window or portable AC units are noisy, block light and barely keep up
- You want separate temperature control in different zones of the house
- Attic space is too tight or too crowded to run new ducts without major disruption
What Our Technicians Evaluate Before Recommending Equipment
A mini-split works well only when each indoor unit matches the load of its room. An oversized head short-cycles, leaving air clammy and wasting energy; an undersized one runs nonstop on hot afternoons. Before we suggest a model, we measure and observe instead of guessing from square footage alone.
We look at window area and which way the glass faces, ceiling height, insulation levels where they can be seen, and how the space is used. A home office with two monitors and afternoon sun behaves very differently from a north-facing guest room. We also check the electrical panel for available capacity, because the outdoor condenser needs a dedicated circuit, and we confirm a sensible location for the outdoor unit with proper clearance, drainage and a short, tidy route for the refrigerant lines.
For multi-zone systems, we map out how many indoor heads one outdoor unit can support and whether a single condenser or two smaller ones would serve the layout better. Indoor unit styles matter too: high-wall heads are common, but ceiling cassettes, low-wall consoles and concealed ducted air handlers can suit rooms where a wall unit would look out of place.
Repairing an Existing Mini-Split or Replacing It
Some homeowners call us about a ductless system that a previous owner installed and that no longer heats or cools the way it should. Not every struggling unit needs to go. Clogged filters and coils, a blocked condensate line, a failed sensor or a low refrigerant charge caused by a leaking flare fitting can often be corrected, and the system returns to normal operation.
Replacement becomes the stronger path when the compressor has failed on an aging unit, when the system uses an older refrigerant that is getting harder to source, or when the indoor heads were badly sized from the start and the house has never been comfortable. In those cases we lay out both options side by side, with the trade-offs explained in plain terms, and you choose.
- Repair is usually reasonable for drainage issues, dirty coils, sensor faults and fixable leaks
- Replacement deserves a look when major components fail on an older system
- Re-sizing may be needed if certain rooms were never comfortable with the current setup
What Shapes the Scope and Cost of Installation
Every ductless project is quoted after we see the house, because the variables change a lot from one home to the next. The biggest factor is the number of indoor zones: a single-room system is a much smaller job than a whole-home layout with four or five heads. Equipment efficiency and heating capability also play a role, since higher-rated heat pump models cost more up front but use less electricity over time.
Installation details weigh in as well. A long line set run, a condenser that has to sit on a wall bracket or a roof, wall cavities that require careful routing through stucco, and electrical panel upgrades all add labor. Condensate drainage can be simple on an exterior wall or may require a small pump on an interior one.
Utility rebates can offset part of the investment, but they depend on who supplies your electricity. LADWP residential customers may apply for rebates on qualifying heat pump systems after installation, with the amount tied to the unit's efficiency ratings and the application due within twelve months of purchase. Many homes outside the City of Los Angeles are served by Southern California Edison instead, so we confirm the current offer for your address before mentioning it in a proposal. The federal 25C tax credit for heat pumps applied only to systems placed in service before the end of 2025, so it no longer applies to new installations.
How an Installation Visit Works
The process starts with an in-home assessment. A technician walks through the rooms you want to condition, takes measurements, checks the electrical panel and talks with you about where indoor heads would look and work best. You receive a written proposal that names the equipment, the number of zones and the scope of work.
On installation day, the crew protects floors and furniture, mounts the indoor units, drills the small wall penetrations for the line sets and sets the outdoor condenser on a pad or bracket. Refrigerant lines are flared, pressure tested and evacuated with a vacuum pump so moisture and air are removed before the system is charged. After wiring and startup, we test each zone in both heating and cooling, confirm proper drainage, and show you how to use the remote, set schedules and clean the washable filters. Most single-zone jobs wrap up in a day, while larger multi-zone systems can take longer.